DIY Guide: Installing Shelves in Your Living Room
Transform Your Living Space with Custom Shelves
DIY Guide: Installing Shelves in Your Living Room
1. Introduction to DIY Shelf Installation
Installing shelves in your living room can be a rewarding project that adds both functionality and style to your space. By doing it yourself, you save money on professional installation costs and have the flexibility to customize the design according to your personal taste. Proper planning and tool preparation are crucial steps that will ensure a successful and safe installation.
2. Planning Your Shelf Layout
Assessing Your Living Room Space: Before you start, take time to measure your living room thoroughly. Consider the height of the ceiling, the position of windows and doors, and any existing furniture. This will help you determine where to place the shelves for optimal use and aesthetics.
Choosing the Right Type and Size: The type and size of shelves depend on the purpose and available space. For example, floating shelves offer a modern look but may require more precise installation, while built-in shelves provide ample storage but need careful planning during construction.
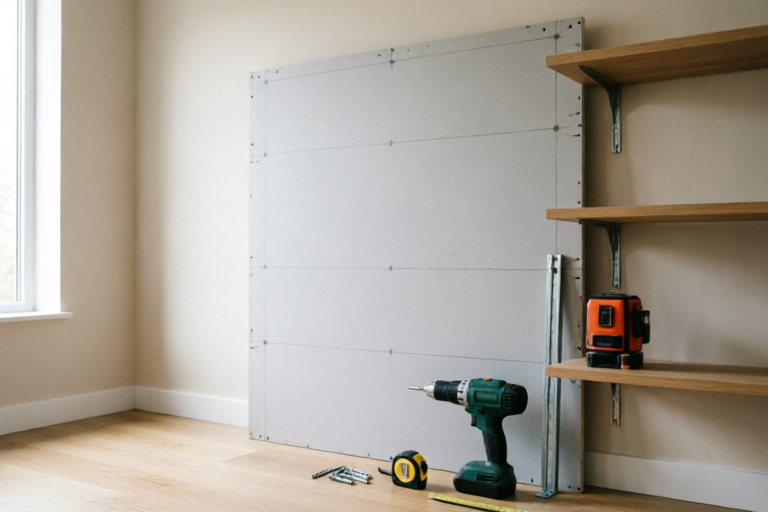
3. Gathering Necessary Tools and Materials
Essential Tools: To complete this project, you'll need a few basic tools such as a drill, level, screwdriver, measuring tape, and pencil. A stud finder is also highly recommended for locating wall studs.
Recommended Materials: Depending on the type of shelf you choose, you might need different materials. Common items include brackets, screws, wood planks, and possibly drywall anchors if you're not attaching directly to studs.
4. Step-by-Step Installation Process
Marking the Wall: Use your level and measuring tape to mark the exact spots on the wall where you want to place the brackets. Ensure these marks are even and aligned properly across the length of the shelf.
Securing Brackets: Once the marks are made, use your drill to create pilot holes at each marked spot. Insert the screws into the holes, then attach the brackets firmly to the wall. Make sure they are tight enough to support the weight of the shelf.
Tips for Level Installation: As you mount the shelf onto the brackets, double-check its alignment using your level. Adjust as necessary until it sits perfectly straight.
5. Finishing Touches and Safety Checks
Aesthetic Appeal: After installation, consider adding decorative elements like trim or painting the shelves to match your decor. These details can enhance the overall appearance of your living room.
Safety Checks: Finally, inspect the installation carefully for any signs of instability. Test the shelves by placing items on them to ensure they can hold the intended load securely.
6. Conclusion and Additional Tips
This DIY guide has provided an overview of the process involved in installing shelves in your living room, from initial planning through final inspection. Remember, taking care when selecting materials and following instructions closely will result in a well-installed and attractive addition to your home. Additionally, maintaining your shelves regularly ensures their longevity and continued usefulness.
Comments

Painting the shelves was an easy way to match them with my room's decor.

Important to double-check everything is secure before adding heavy items.

Anyone tried this with floating shelves? Wondering if the same process applies.

Thanks for the tips on choosing materials. Saved me some money by buying second-hand brackets.

I struggled with the level part but eventually got it right. Good step-by-step.

Installed three shelves in my living room. Added some plants and candles - looks amazing!

Great guide! Quick question though, can I use drywall anchors instead of wood screws?

Worked perfectly! I finally got those books off the floor.