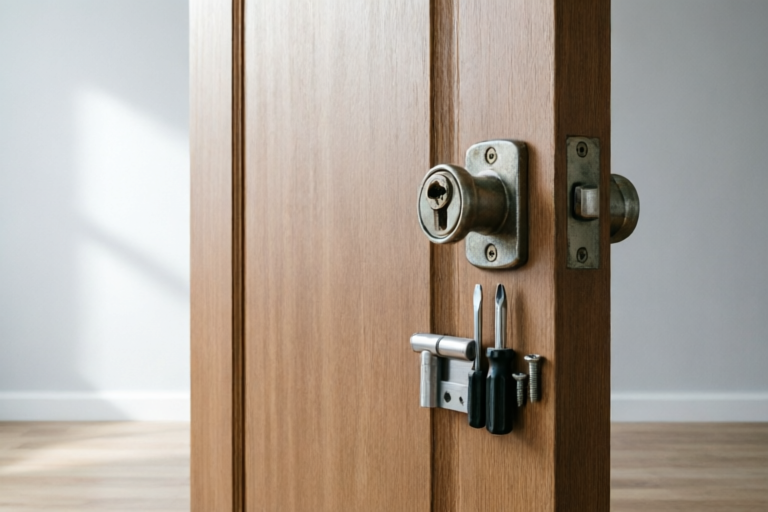
Step-by-Step Guide to Replace Your Broken Door Lock
Secure Your Home with Confidence
1. Introduction to Replacing a Door Lock
Understanding the Importance of a Secure Door Lock:
A secure door lock is crucial for protecting your home and belongings from unauthorized access. Whether it's due to wear and tear or a recent break-in, replacing a faulty lock is an essential task for maintaining your household's safety.
Identifying Signs That Your Door Lock Needs Replacement:
- Difficulty turning the key or inserting it smoothly
- Noises when the lock engages or disengages
- Visible damage to the lock or surrounding areas
- Keys that don't work as they should
Tools and Materials Needed for the Replacement Process:
- Pliers or screwdrivers
- New door lock kit
- Replacement strike plate
- Drill and drill bits
- Screwdriver set
- Measuring tape
2. Preparing for the Replacement
Checking the Type of Lock You Have:
Before starting the replacement, identify the type of lock you currently have. Common types include mortise locks, cylindrical locks, and rim locks. Each type requires specific tools and techniques.
Removing the Old Lock from the Door:
Use the appropriate tool to remove the screws securing the old lock to the door. Carefully take out the lock mechanism and set it aside. Be cautious not to damage the door or surrounding areas.
Ensuring the New Lock is Compatible with Your Door:
Ensure that the new lock is compatible with your door by checking the size and type. Some locks may require additional drilling or adjustments to fit properly.
3. Installing the New Lock
Measuring the Bore Hole and Adjusting if Necessary:
Measure the bore hole in the door to ensure it matches the new lock. If necessary, use a drill bit to make adjustments.
Inserting the New Lock into the Door:
Align the new lock with the bore hole and insert it carefully. Ensure it fits snugly without excessive force.
Securing the Lock in Place with Screws:
Once the lock is inserted, secure it with the provided screws. Tighten them evenly to prevent warping the door.
4. Setting Up the Lock Mechanism
Aligning the Strike Plate on the Door Frame:
Position the strike plate on the door frame and align it with the lock mechanism. Use a level to ensure it's straight.
Adjusting the Striker Plate for Proper Fit:
If necessary, adjust the striker plate using the screws provided. Ensure the gap between the striker plate and the lock is minimal but still allows for smooth operation.
Testing the Lock for Smooth Operation:
Test the lock by opening and closing the door several times. Ensure it operates smoothly and securely. Make any necessary adjustments.
5. Finalizing the Installation
Painting or Finishing the Exposed Hardware:
If the exposed hardware doesn't match the rest of your door, consider painting or refinishing it to blend in seamlessly.
Cleaning Up the Workspace:
Remove any debris or tools from the workspace. Dispose of packaging and leftover materials responsibly.
Reviewing the Installation for Any Issues:
Double-check all components to ensure they're functioning correctly. Address any issues immediately to maintain security.
6. Conclusion and Maintenance Tips
Ensuring All Components Are Functioning Correctly:
After installation, test the lock thoroughly. Ensure all components, including keys and deadbolts, operate smoothly.
Providing Tips for Regular Maintenance of the New Lock:
- Regularly lubricate the lock mechanism to prevent rust and ensure smooth operation.
- Check the strike plate for alignment and adjust if necessary.
- Replace worn-out keys promptly to avoid lockout situations.
Encouraging Periodic Checks for Continued Security:
Periodically inspect the lock and surrounding areas for signs of wear or damage. Address any issues promptly to maintain your home's security.
Comments

Worked for me. Short and sweet, exactly what I needed.

Super helpful! I had to adjust the striker plate a bit more than expected.

The alignment part was tricky but I managed. Any advice on keeping the new lock secure over time?

Really helpful. I suggest adding a tip about checking for compatibility before buying the new lock.

I used this guide to replace both my front and back door locks. Saved me a ton of money!

Great guide! Quick question though, what do I do if my bore hole is too small?

Worked like a charm! I was nervous but the step-by-step guide made it super easy. Thanks!